Prompt Templates
Prepare structured prompts that students apply with one click — no prompt engineering required.
Overview
Prompt Templates let you set up ready-made AI conversation starters for your students. Each template includes a name, system instructions that control how the AI behaves, optional file attachments, and settings for which AI tools students can use. When you push a template to a class session, students receive it instantly and can begin a guided AI conversation with one click.
There is also a public template library where you can discover and import templates created by other educators.
For walkthroughs, watch the tutorials below.
How to Access
- Go to the Teacher Portal
- Click Prompt Templates in the sidebar
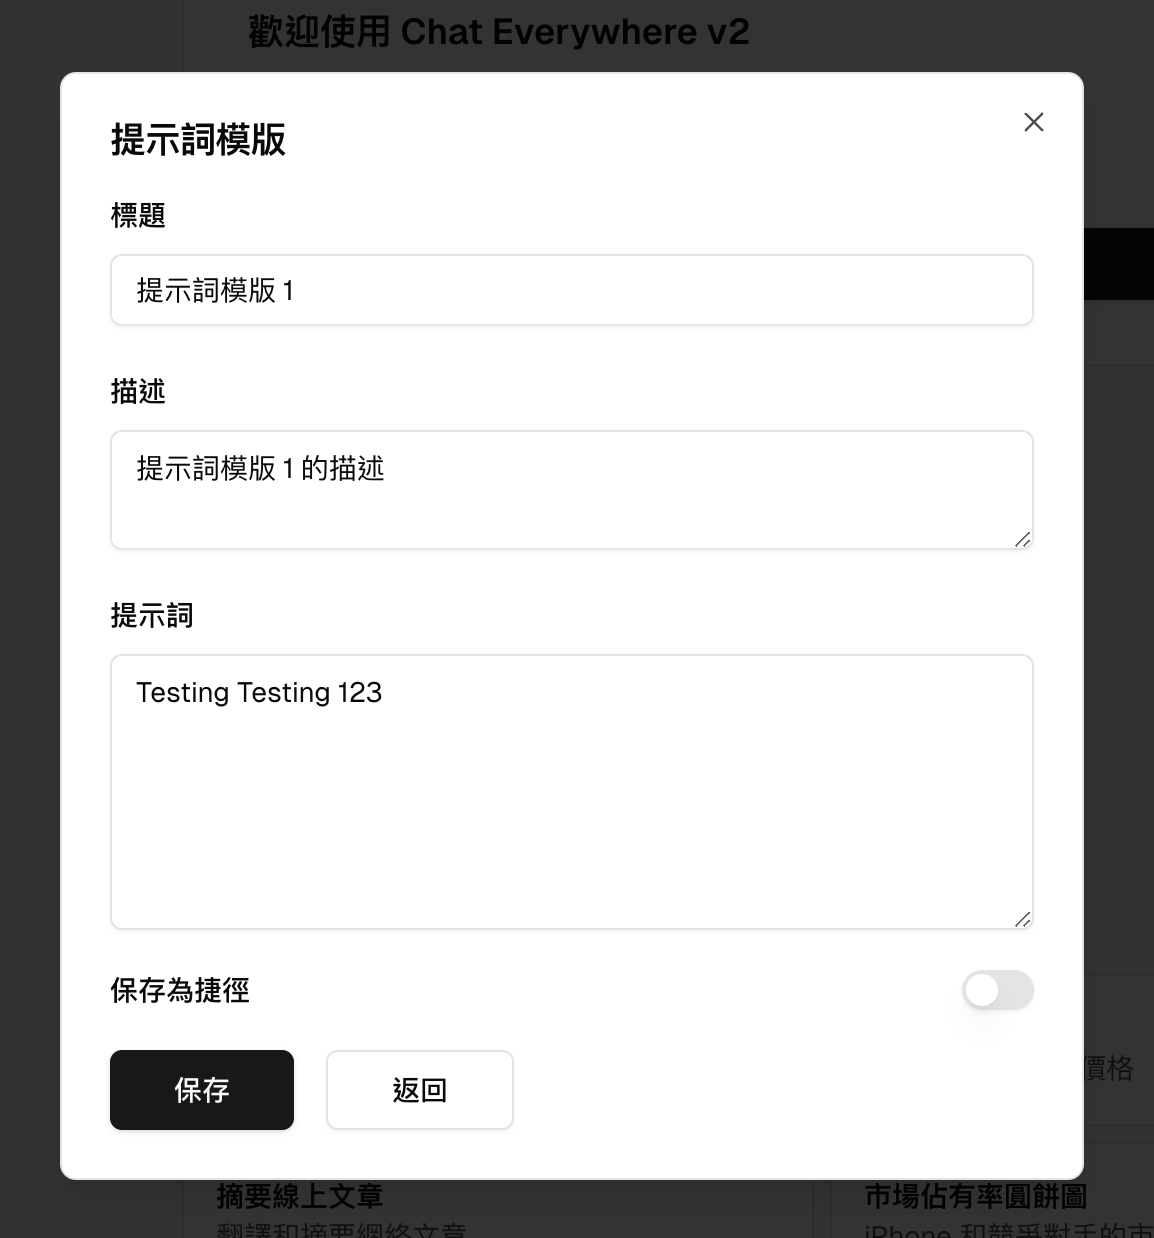
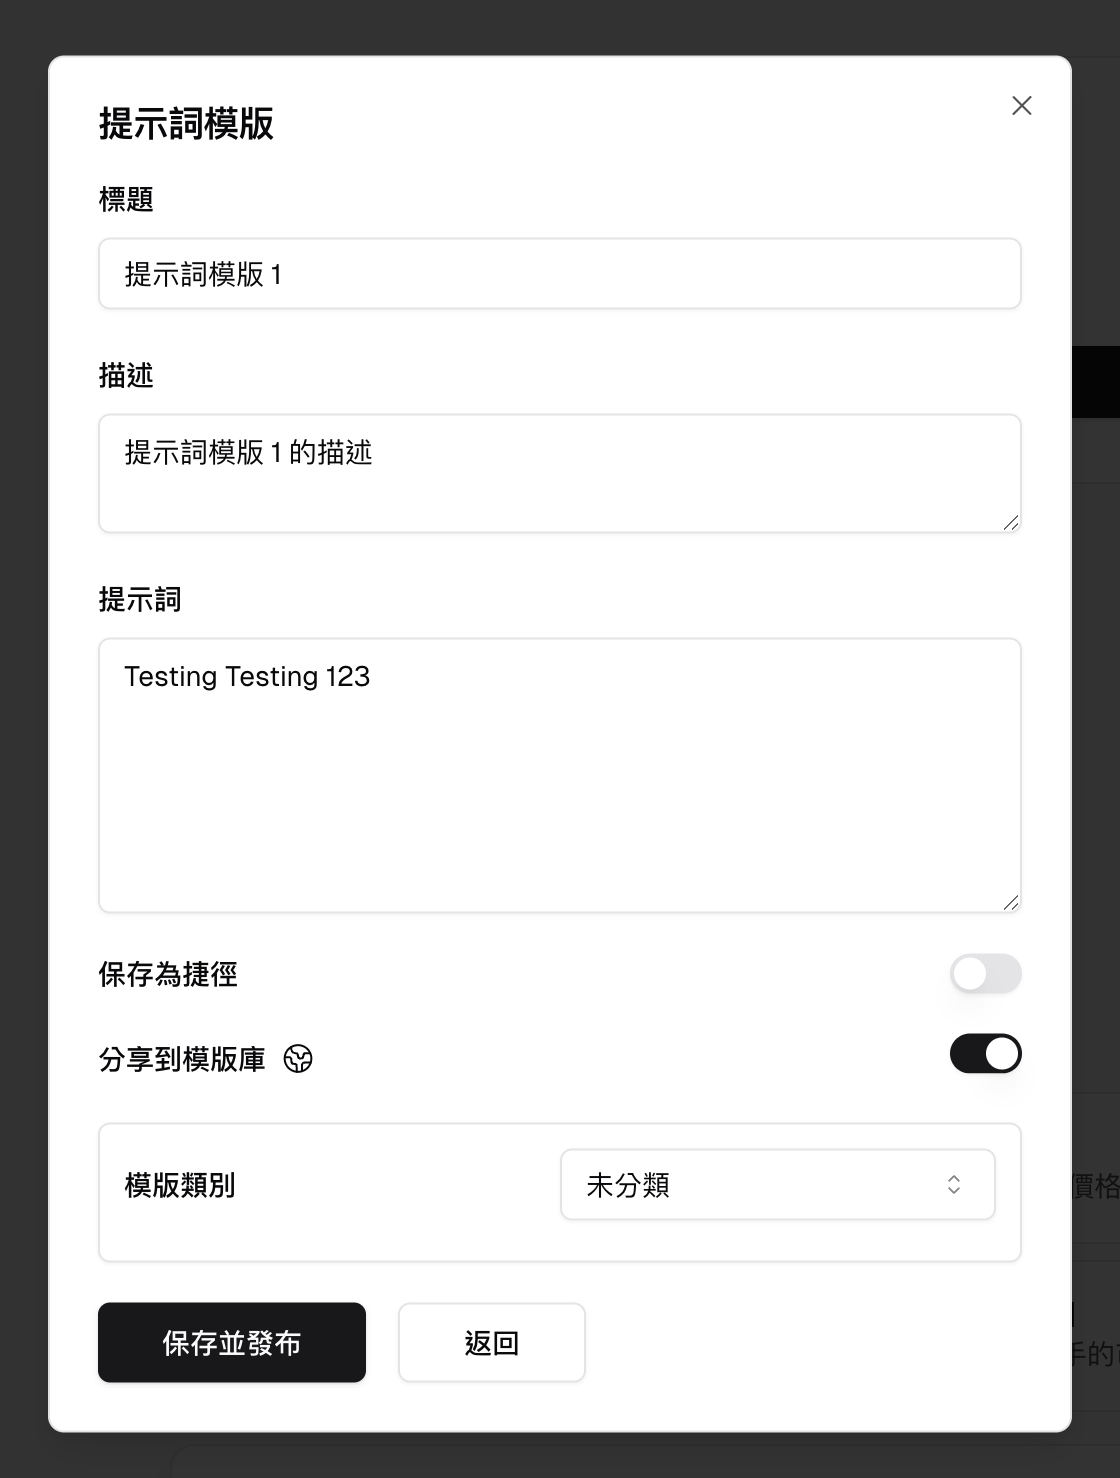
Creating a Template
- Click Create New Template (or the equivalent button on the templates page)
- Fill in the template details:
- Name — A clear title students will see (for example, “History Essay Brainstormer” or “Science Lab Report Helper”)
- System instructions — These tell the AI how to behave. For example: “You are a writing coach. Help the student brainstorm thesis statements for a history essay. Ask guiding questions instead of giving direct answers.”
- File attachments (optional) — Upload reference documents, rubrics, or other materials the AI should use as context
- AI tools (optional) — Choose which AI capabilities are available to students when using this template (for example, web search or image generation)
- Save the template
Tips for writing system instructions:
- Be specific about what the AI should and should not do
- Describe the AI’s role (tutor, debate partner, writing coach)
- Include any constraints (“only discuss topics related to chapter 5”, “respond in Spanish”)
- Keep instructions concise — a few sentences usually work well
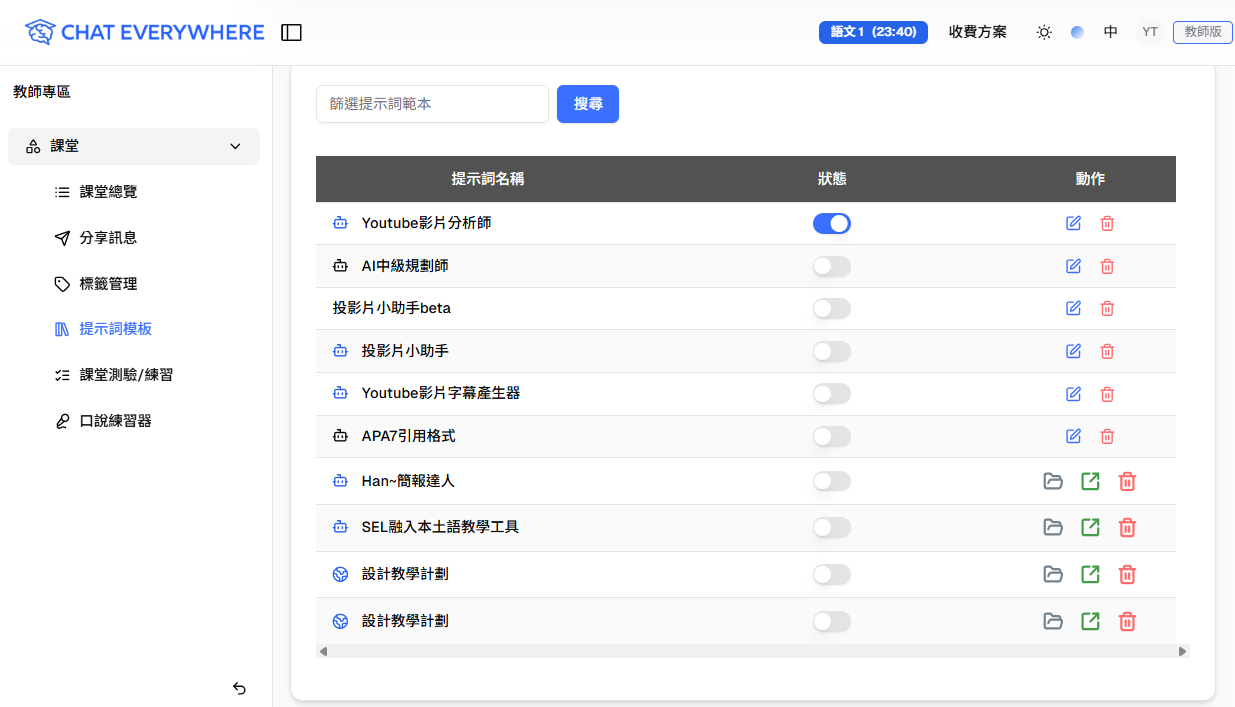
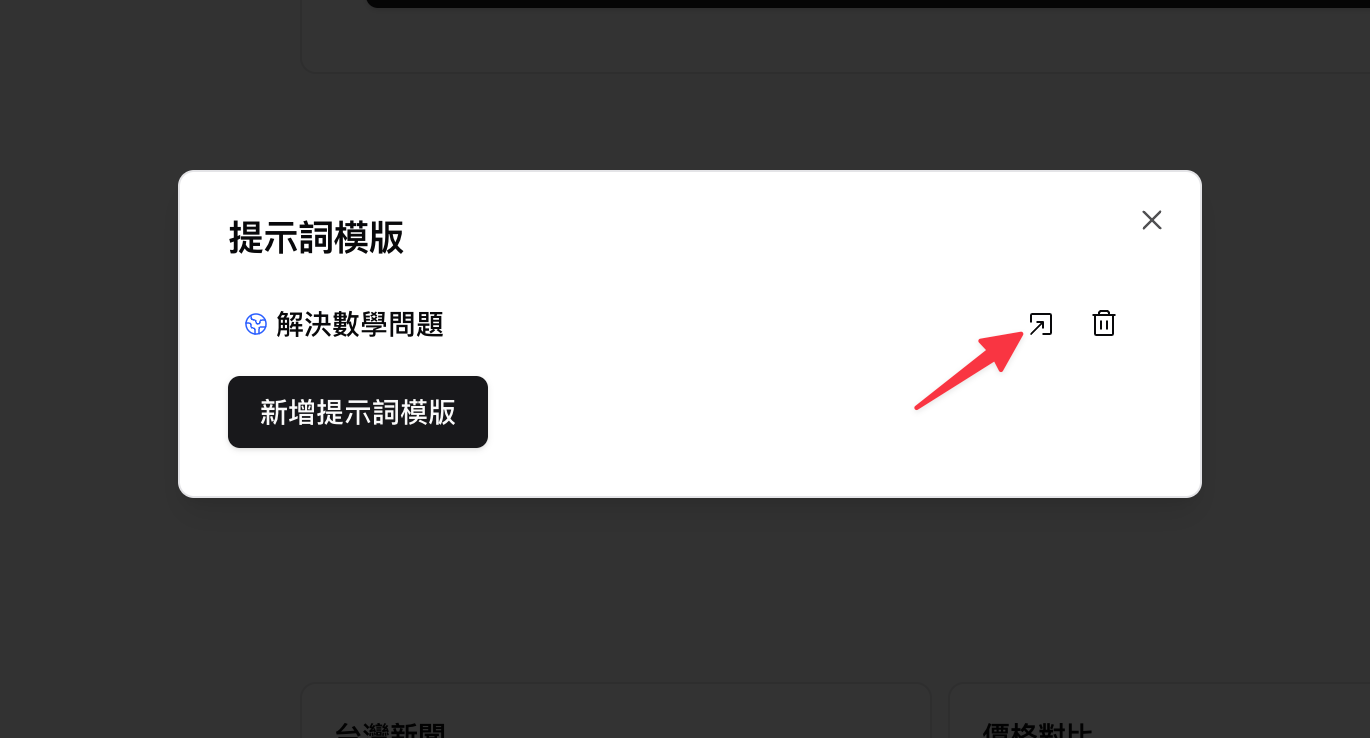
Organizing Templates
You can assign templates to categories to keep them organized. This is especially helpful if you create many templates across different subjects or class periods.
- Assign a category when creating or editing a template
- Filter your template list by category to find what you need quickly
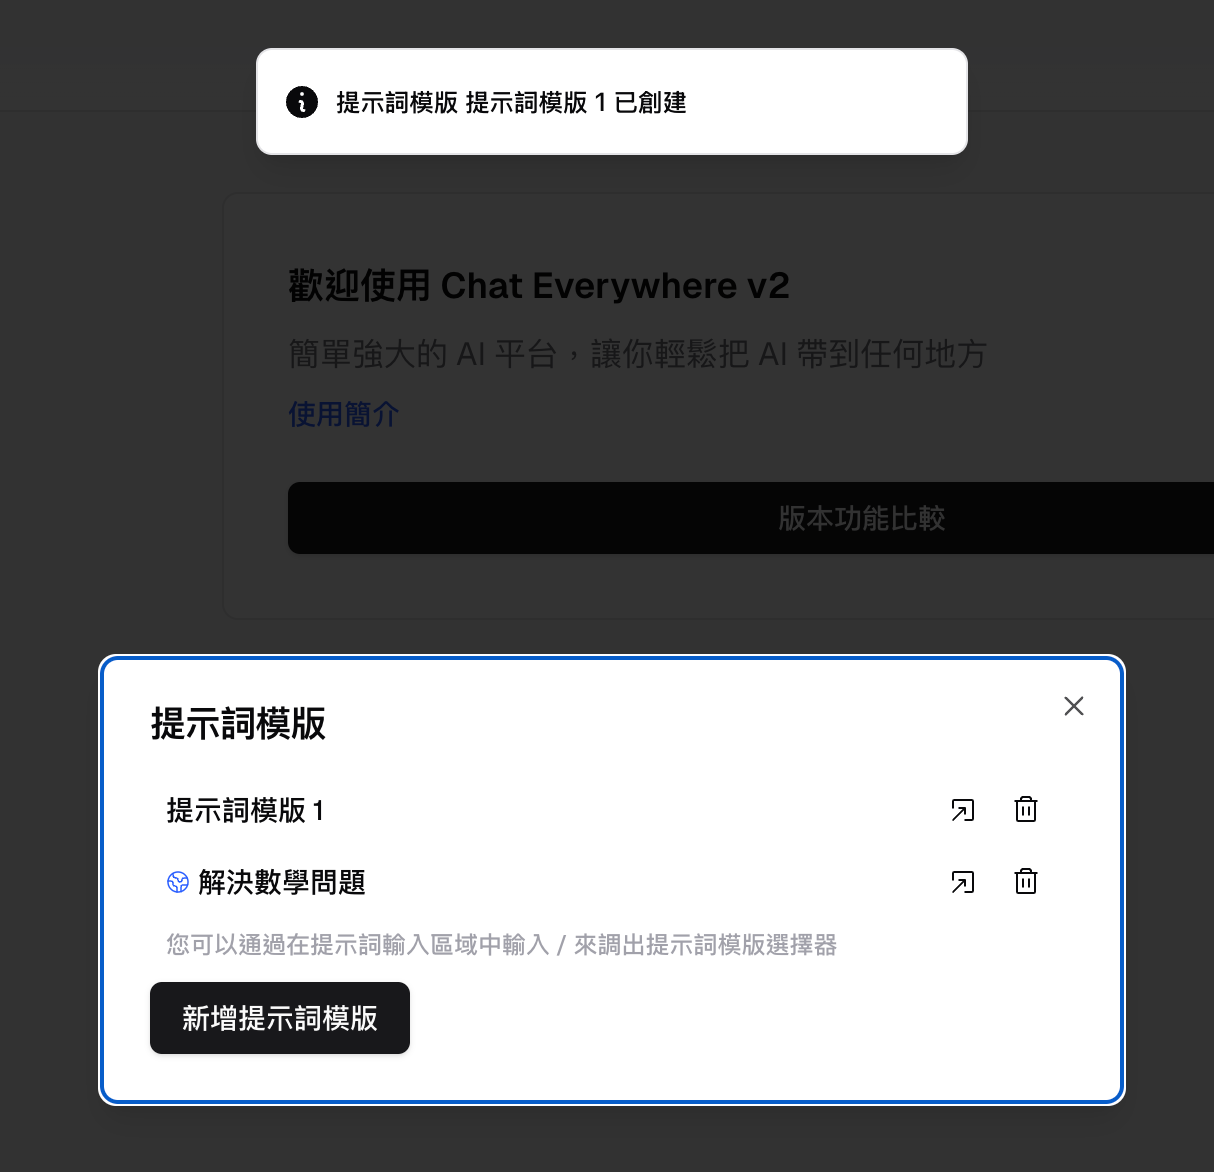
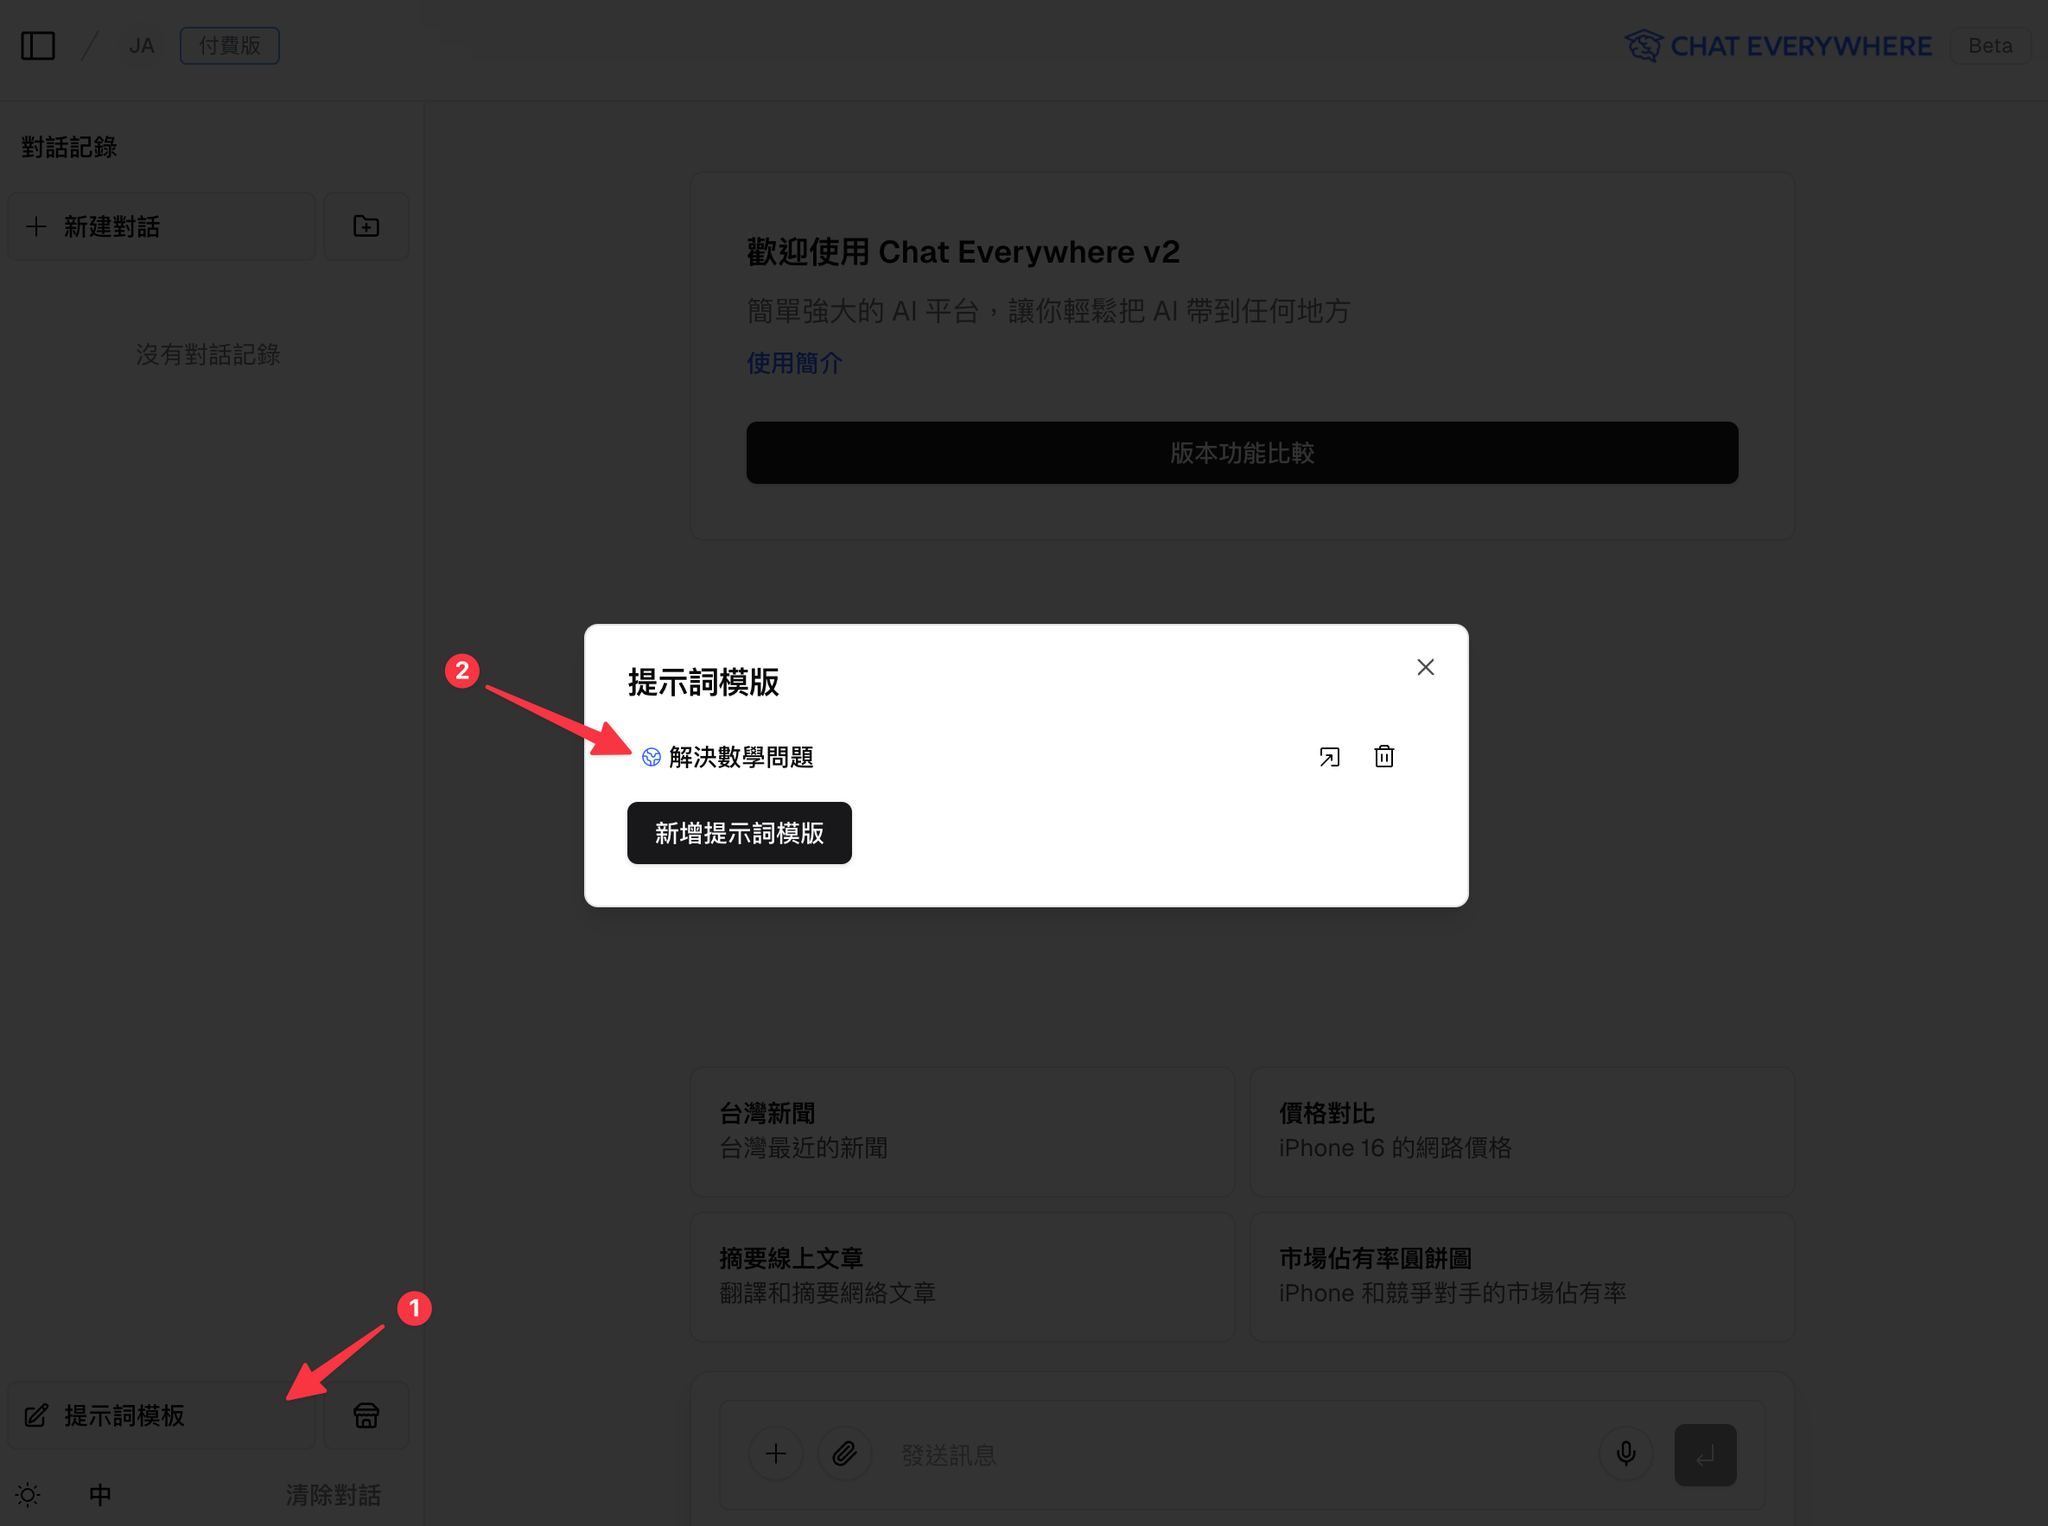
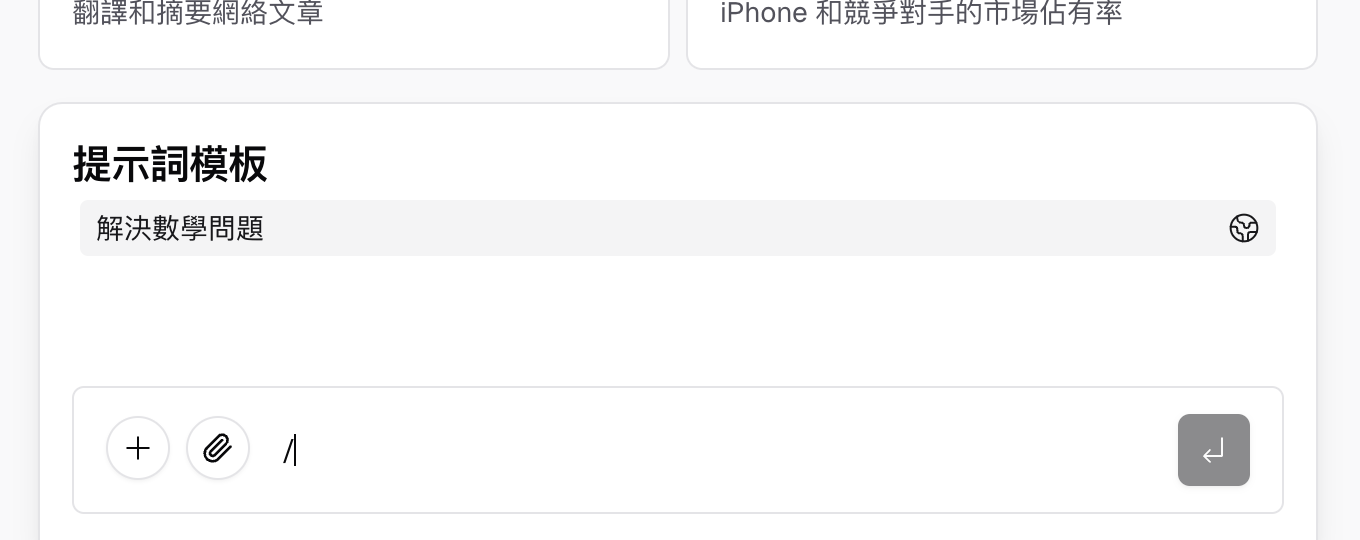
Template Variables and Shortcuts
Use {{variable}} placeholders when a template needs students to fill in a topic, role, level, or other detail before the conversation starts. In the chat input, students can type / to open available templates and start from the structure you prepared.
Sharing Templates with Students
To share a template during class:
- Make sure you have an active Class Session running
- From the session detail page or template list, choose the template you want to share
- Push the template to your session
- Students in the session immediately see the template in their Class Portal
- Students click the template to start a conversation with the AI using your configured instructions
Students do not need to write their own prompts — the template handles the setup. They simply start chatting.
When sharing a template to a live class session, students see it in their Class Portal and can launch it directly. This is useful when every student should start with the same instruction set.
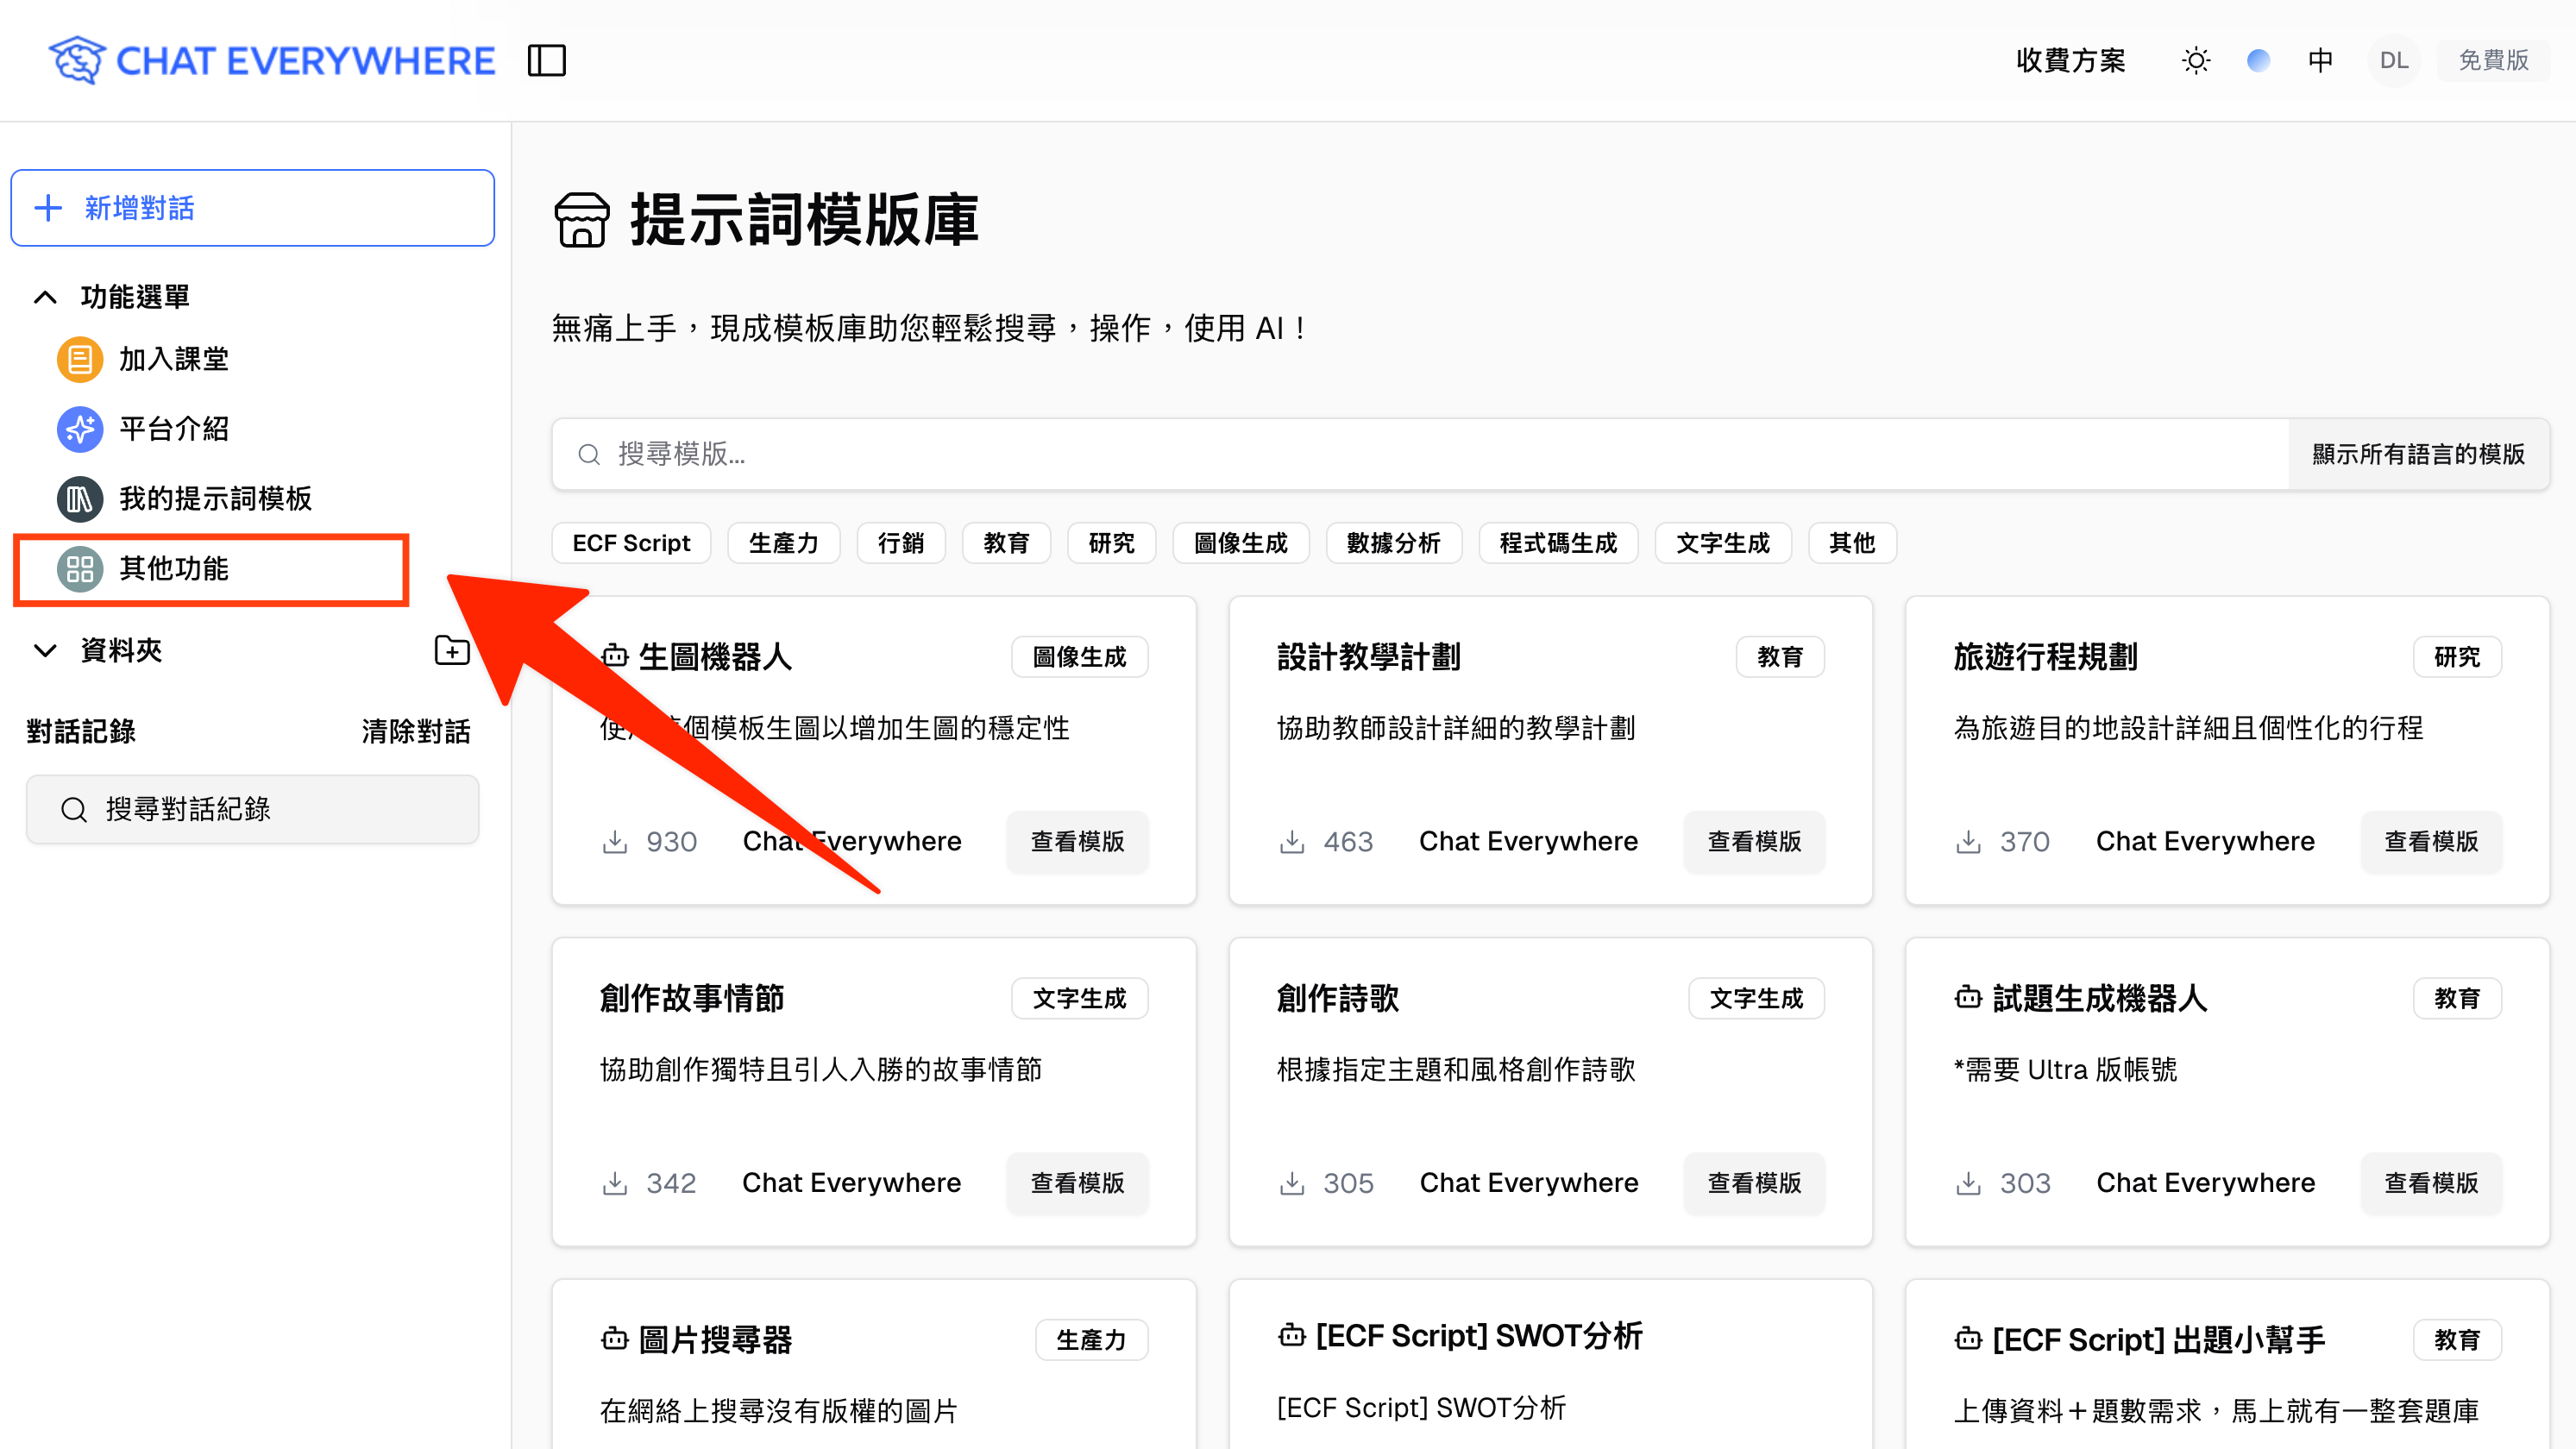
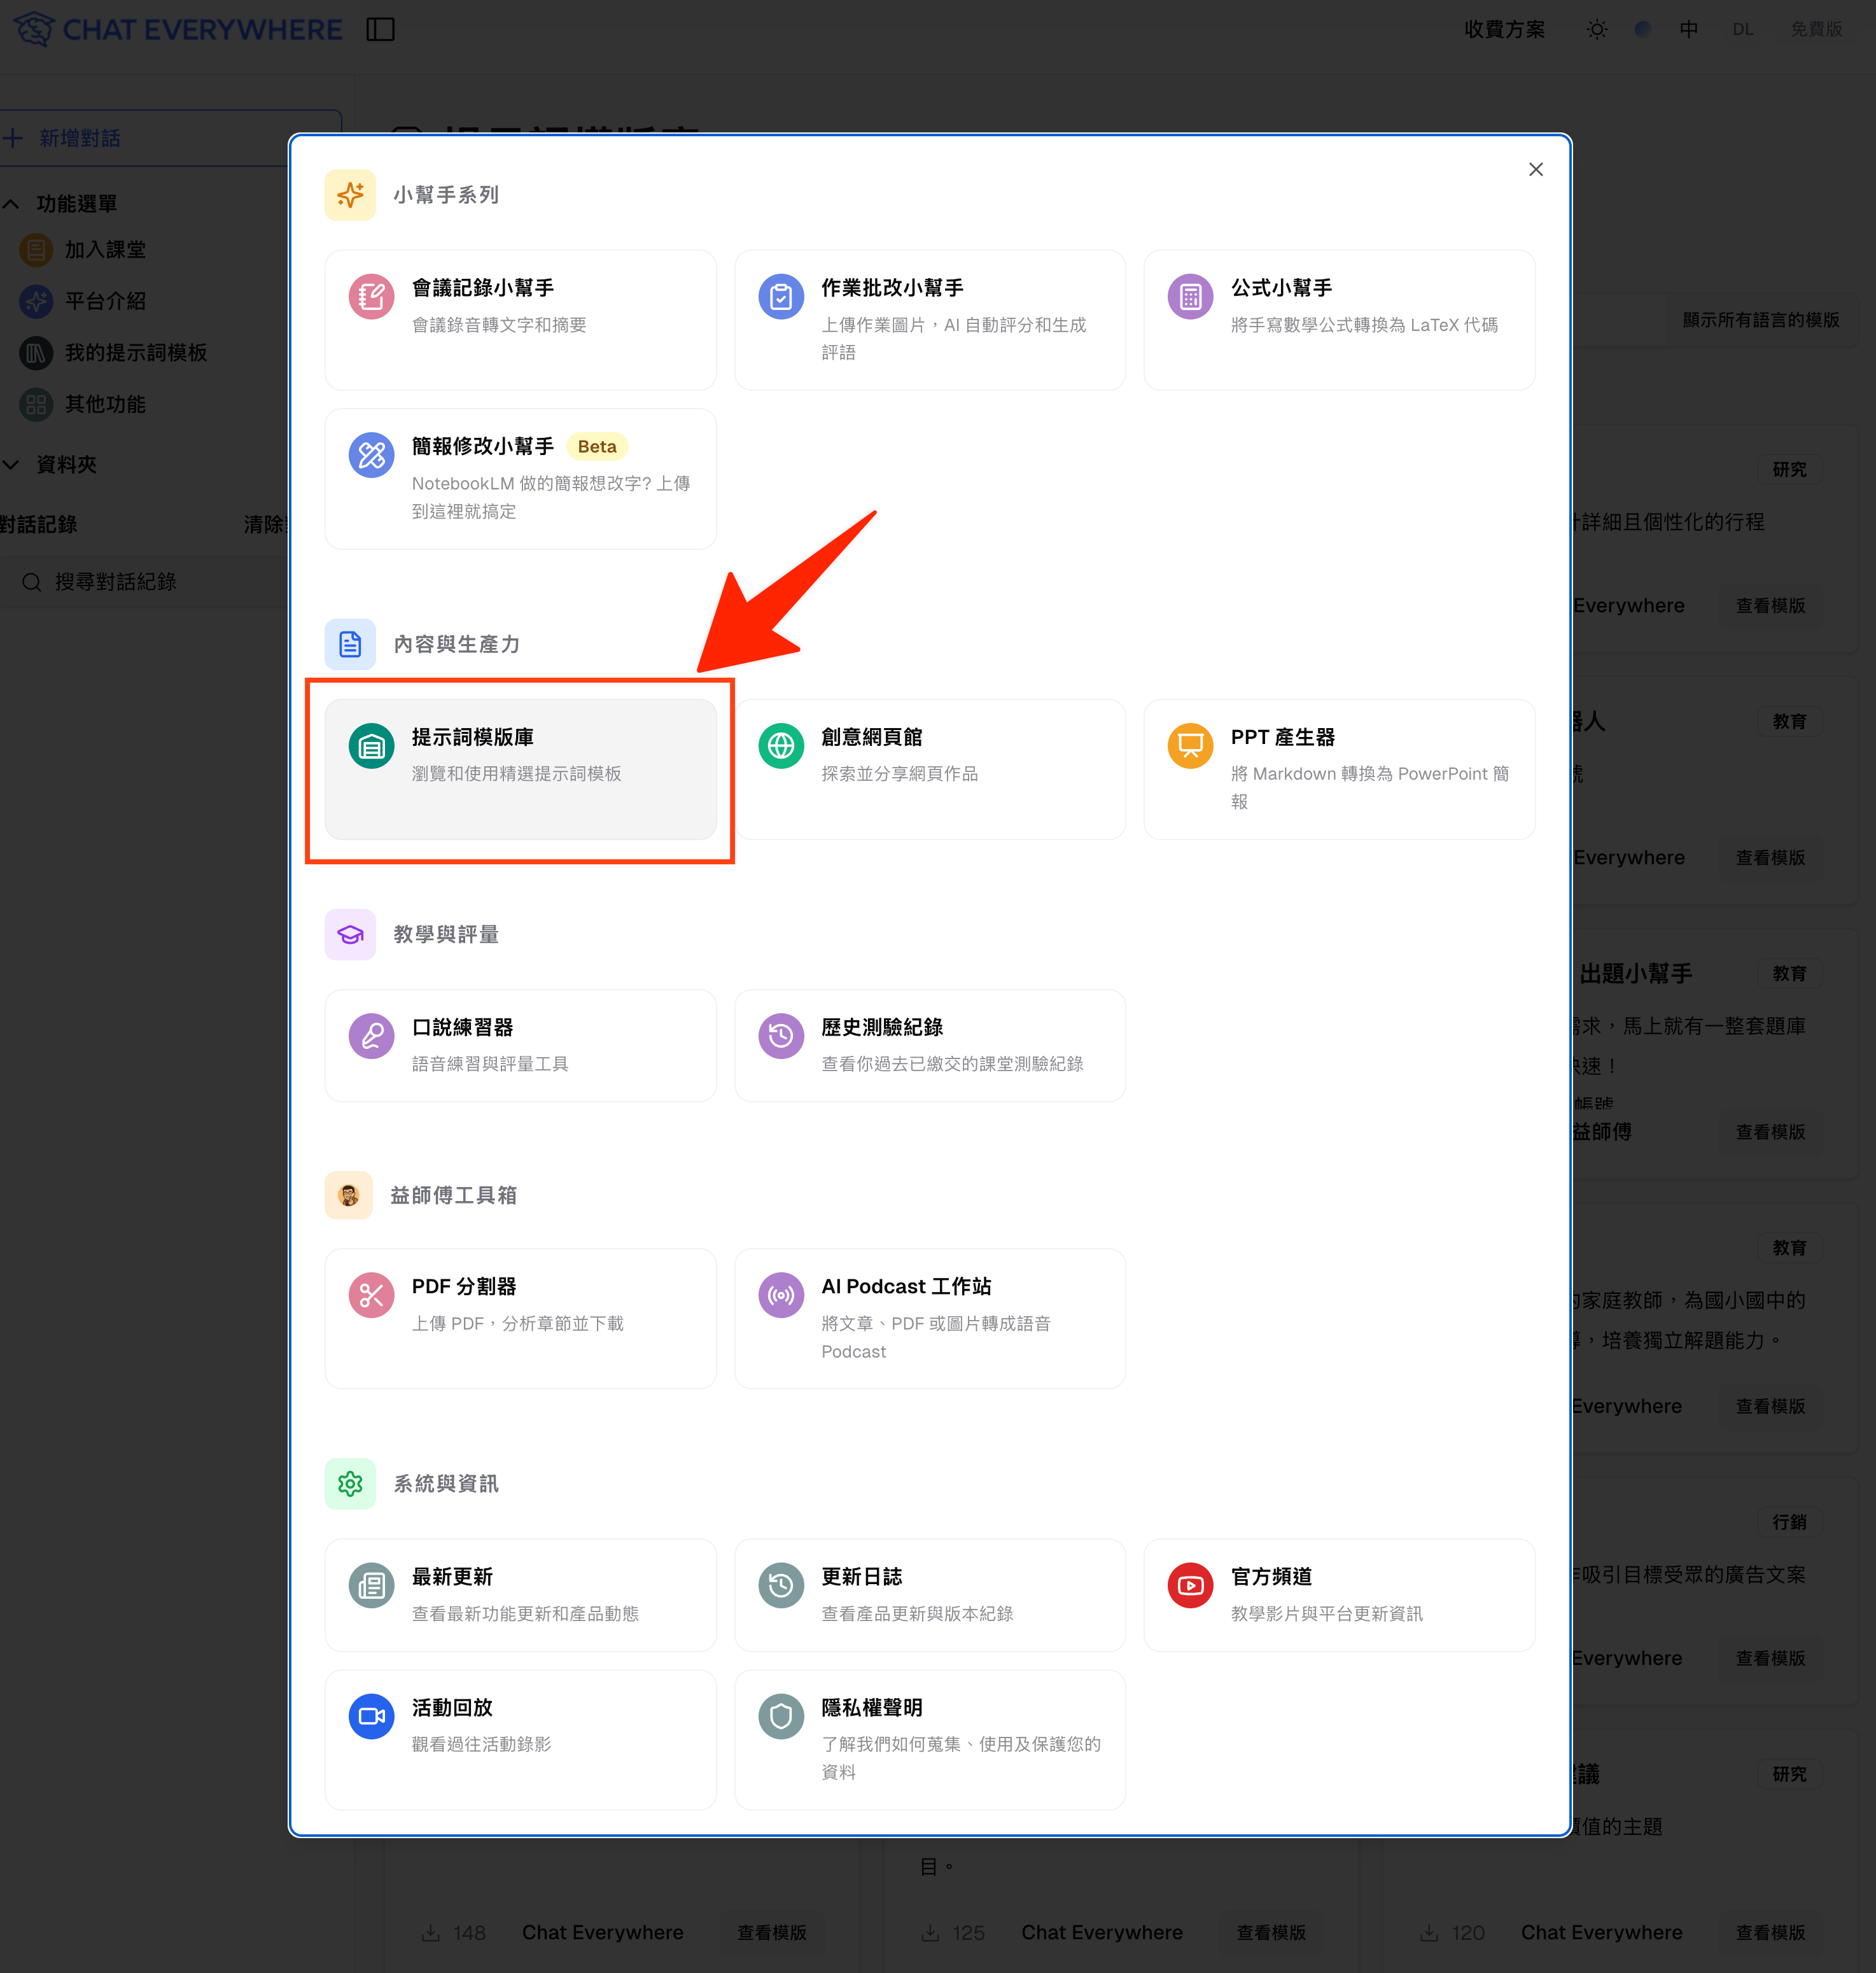
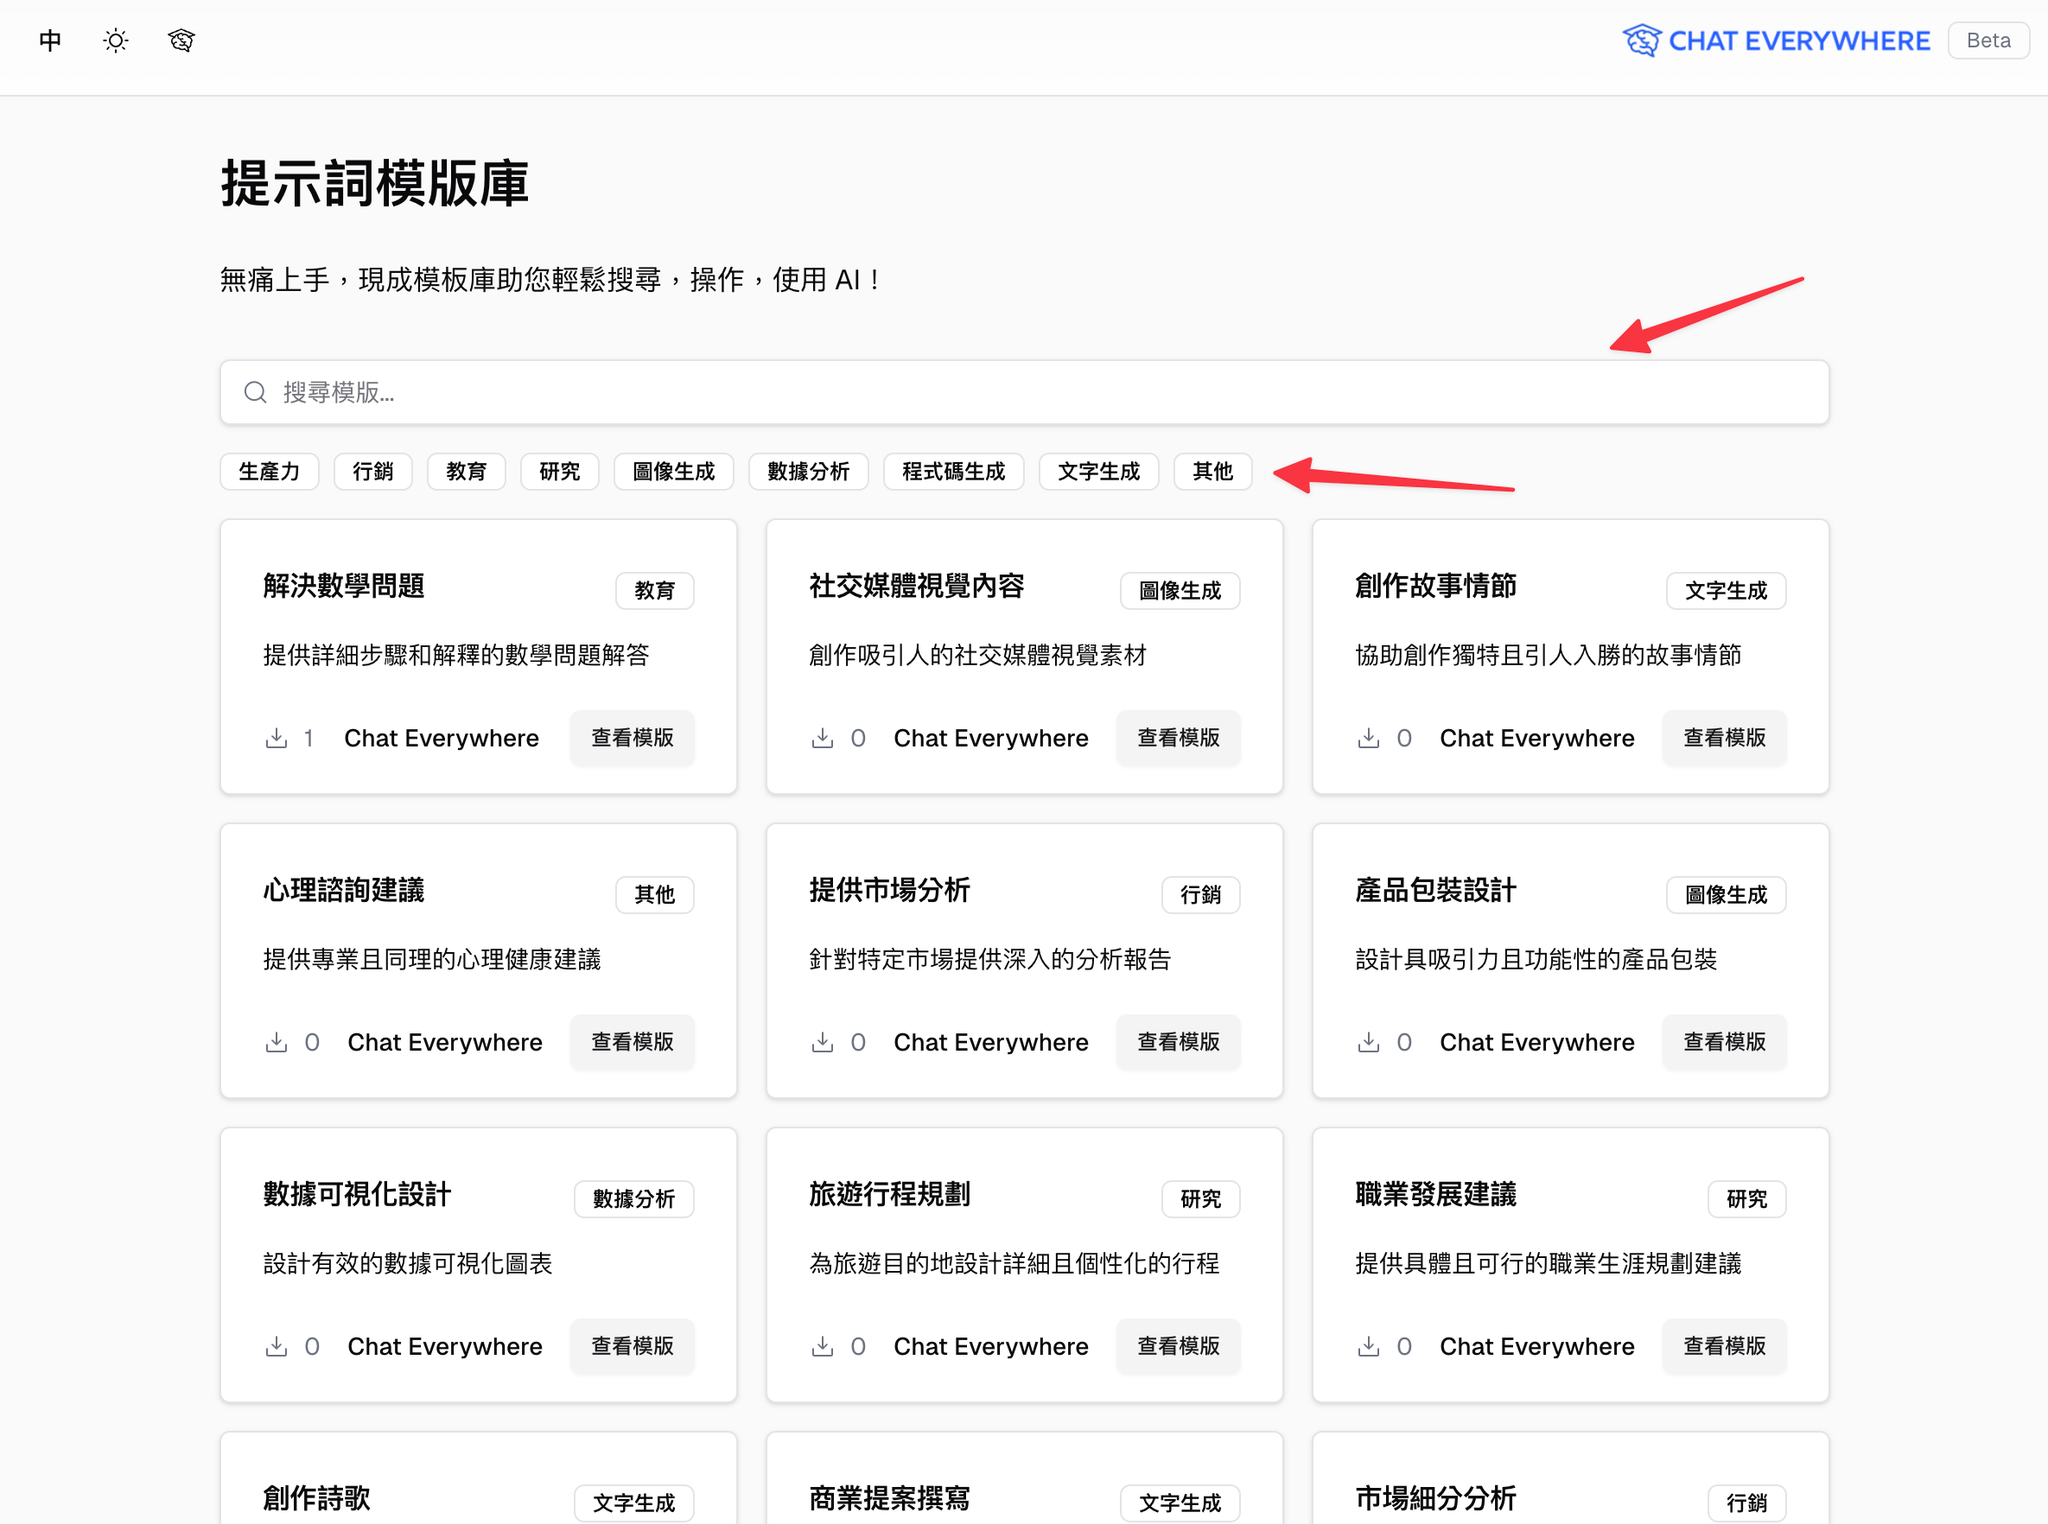
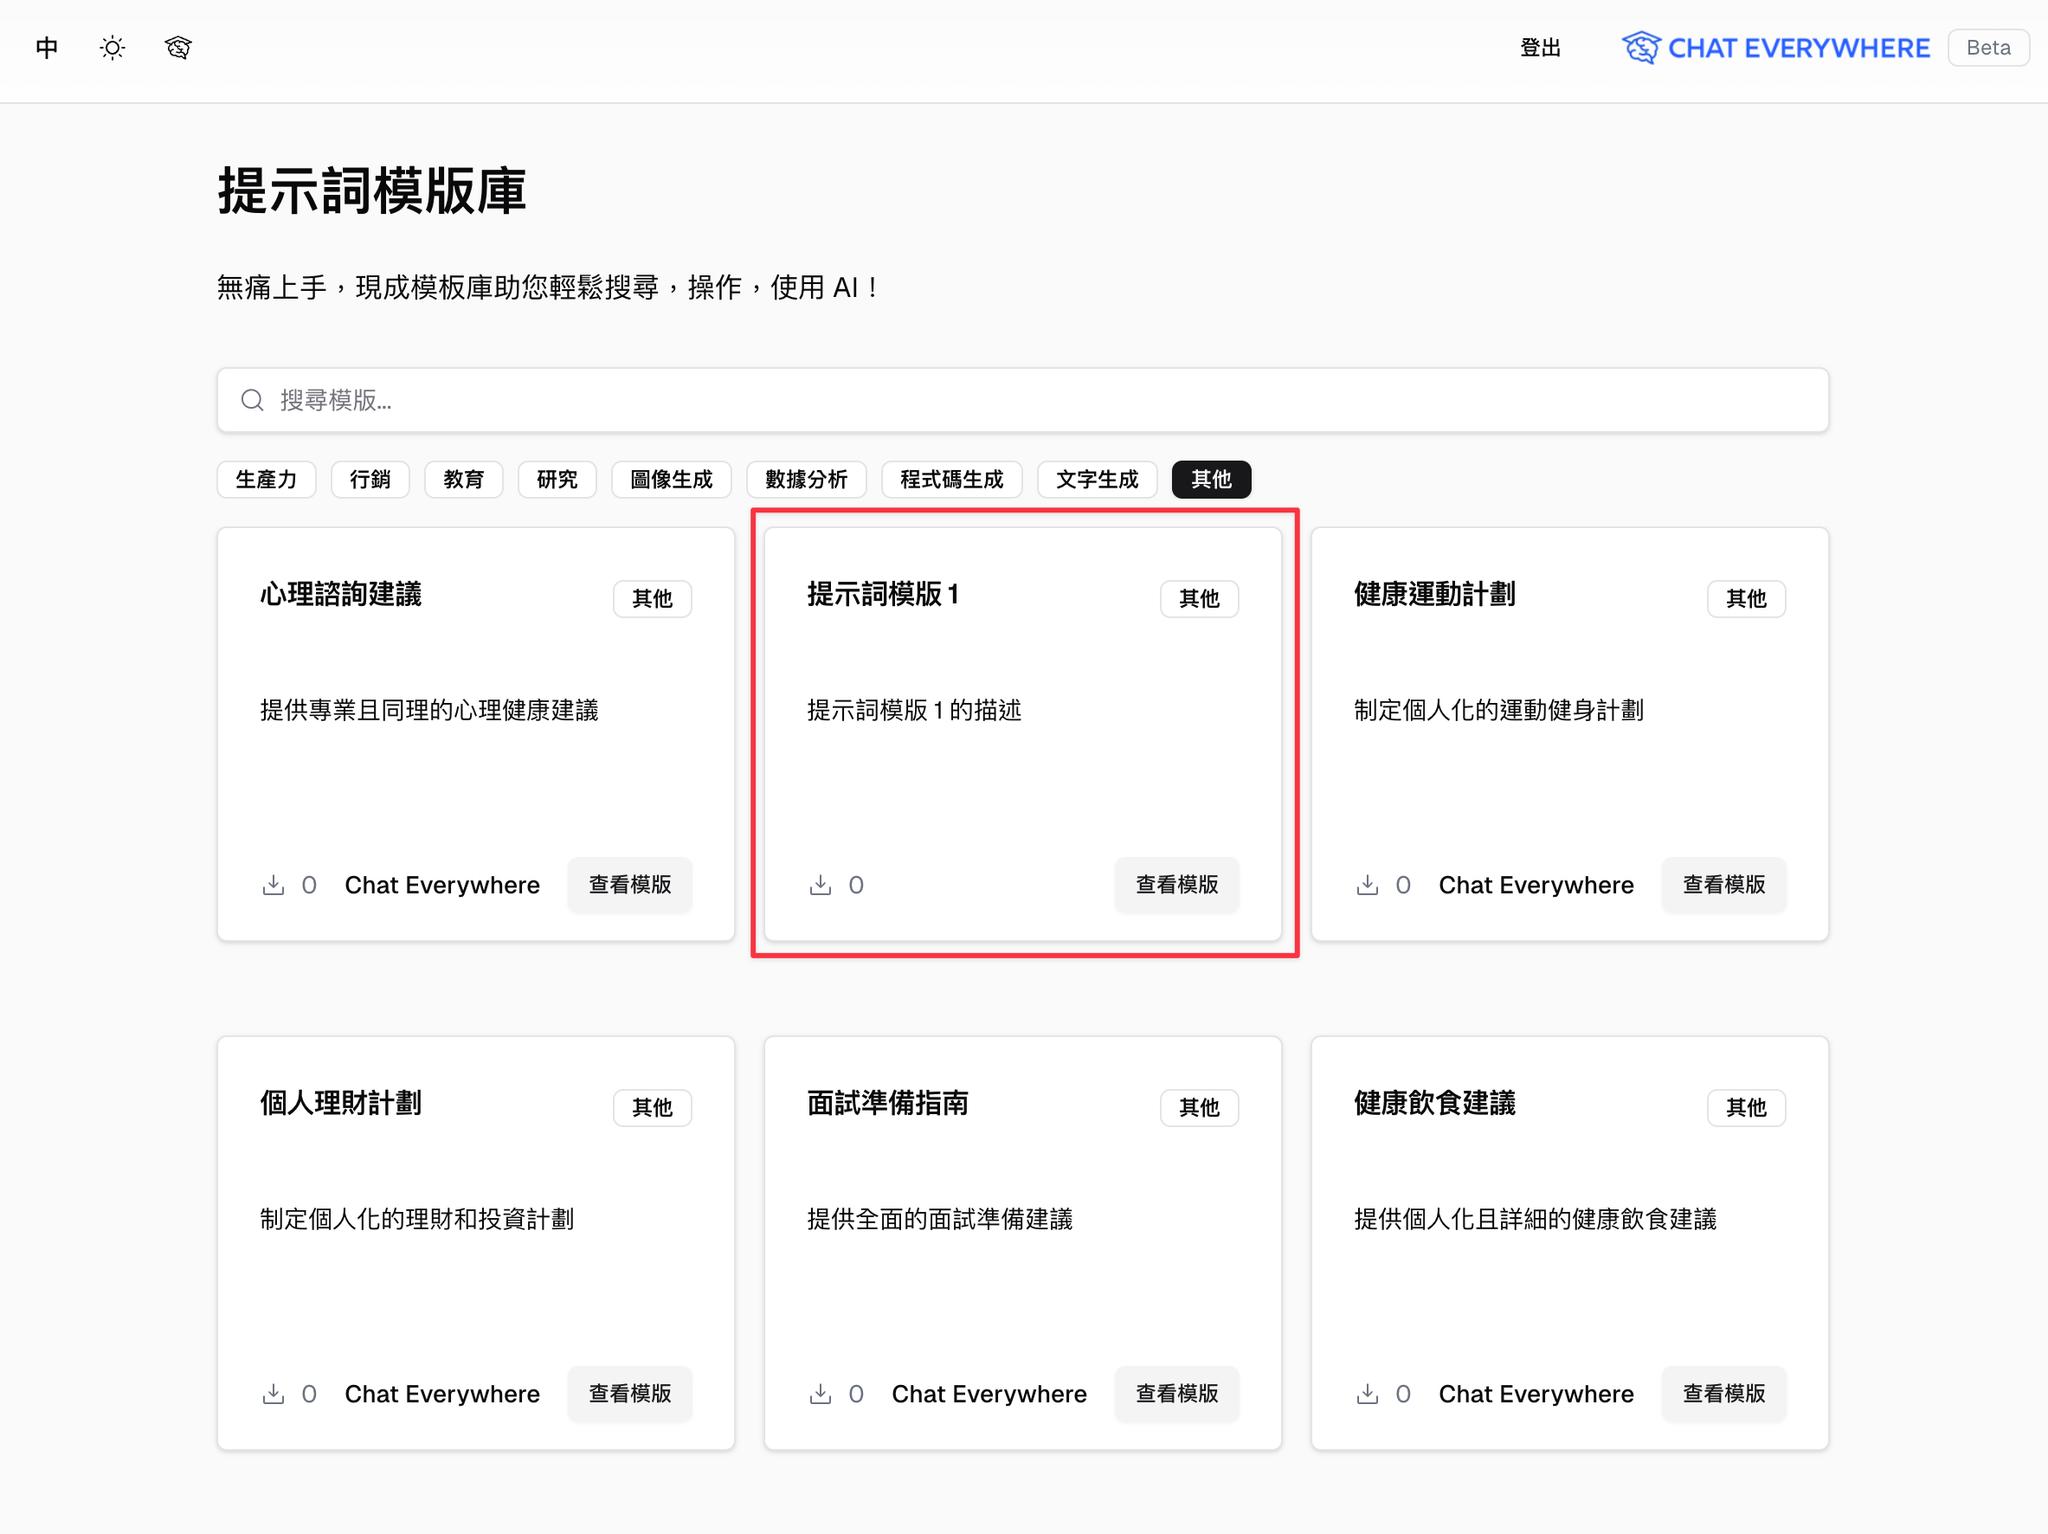
The Public Template Library
The public template library is a collection of templates shared by educators across the Chat Everywhere community.
- Browse the library to discover templates for different subjects and activities
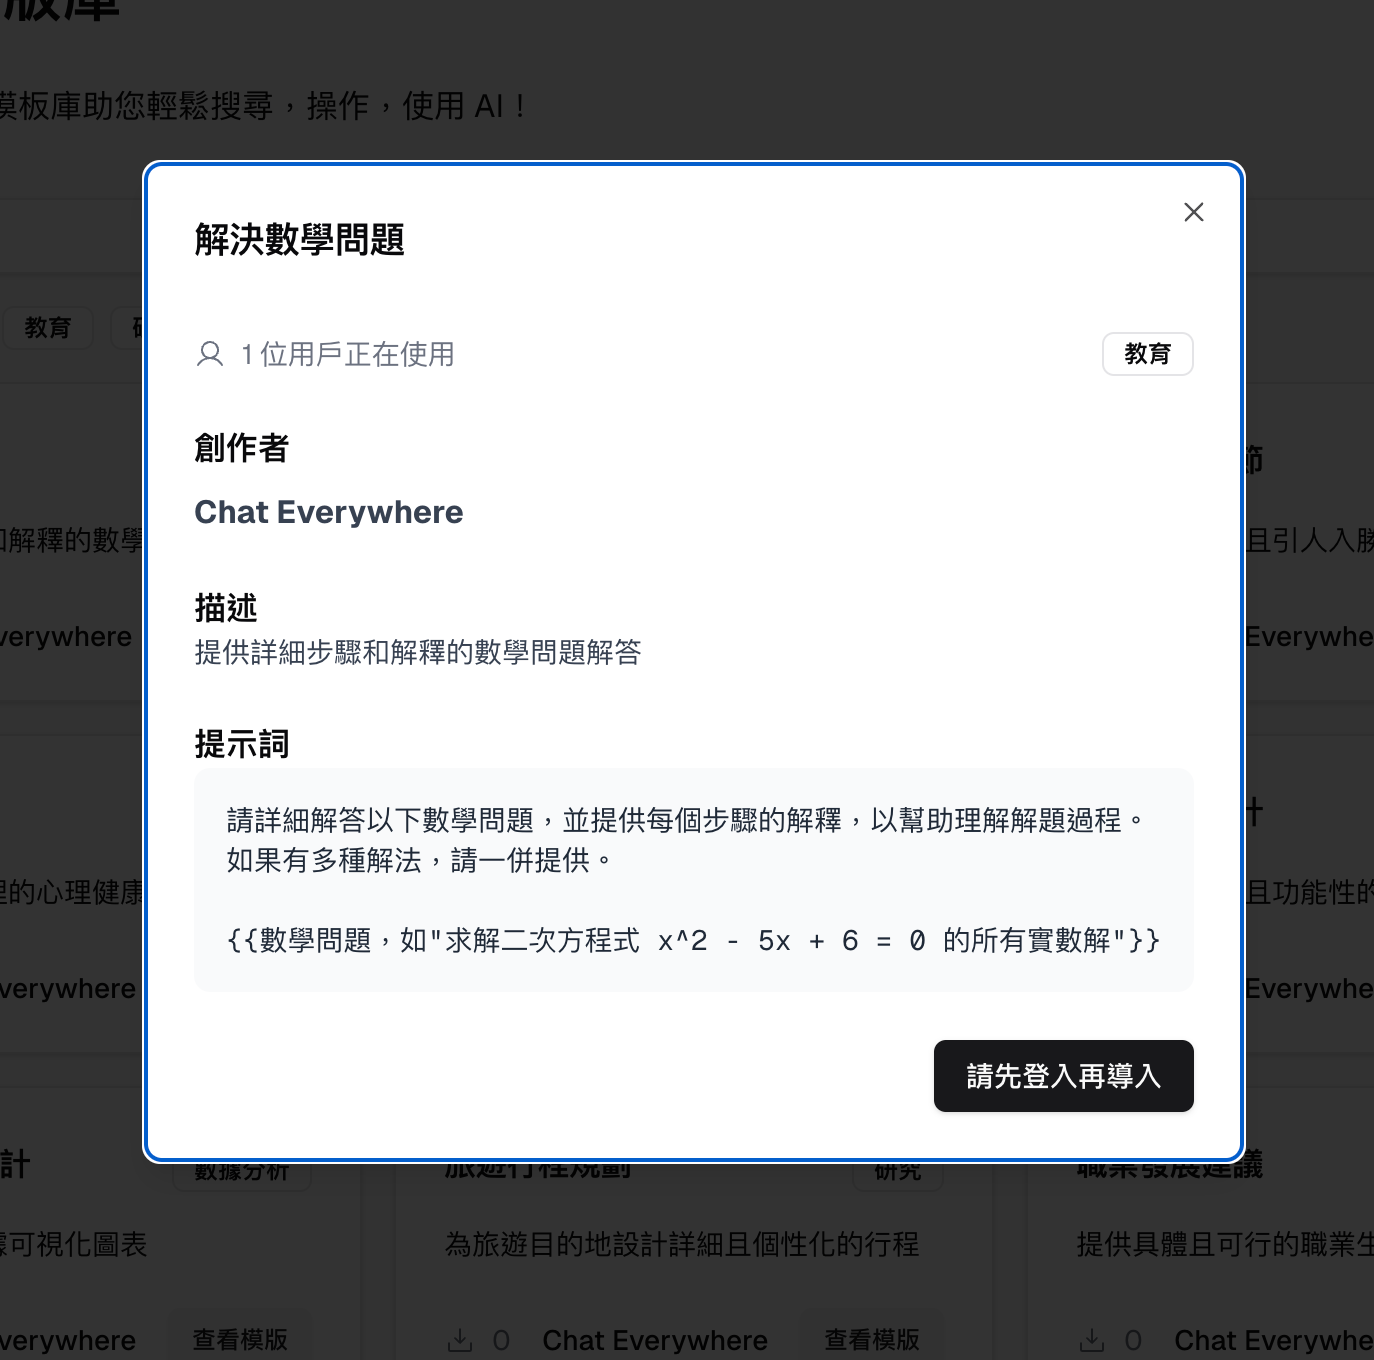
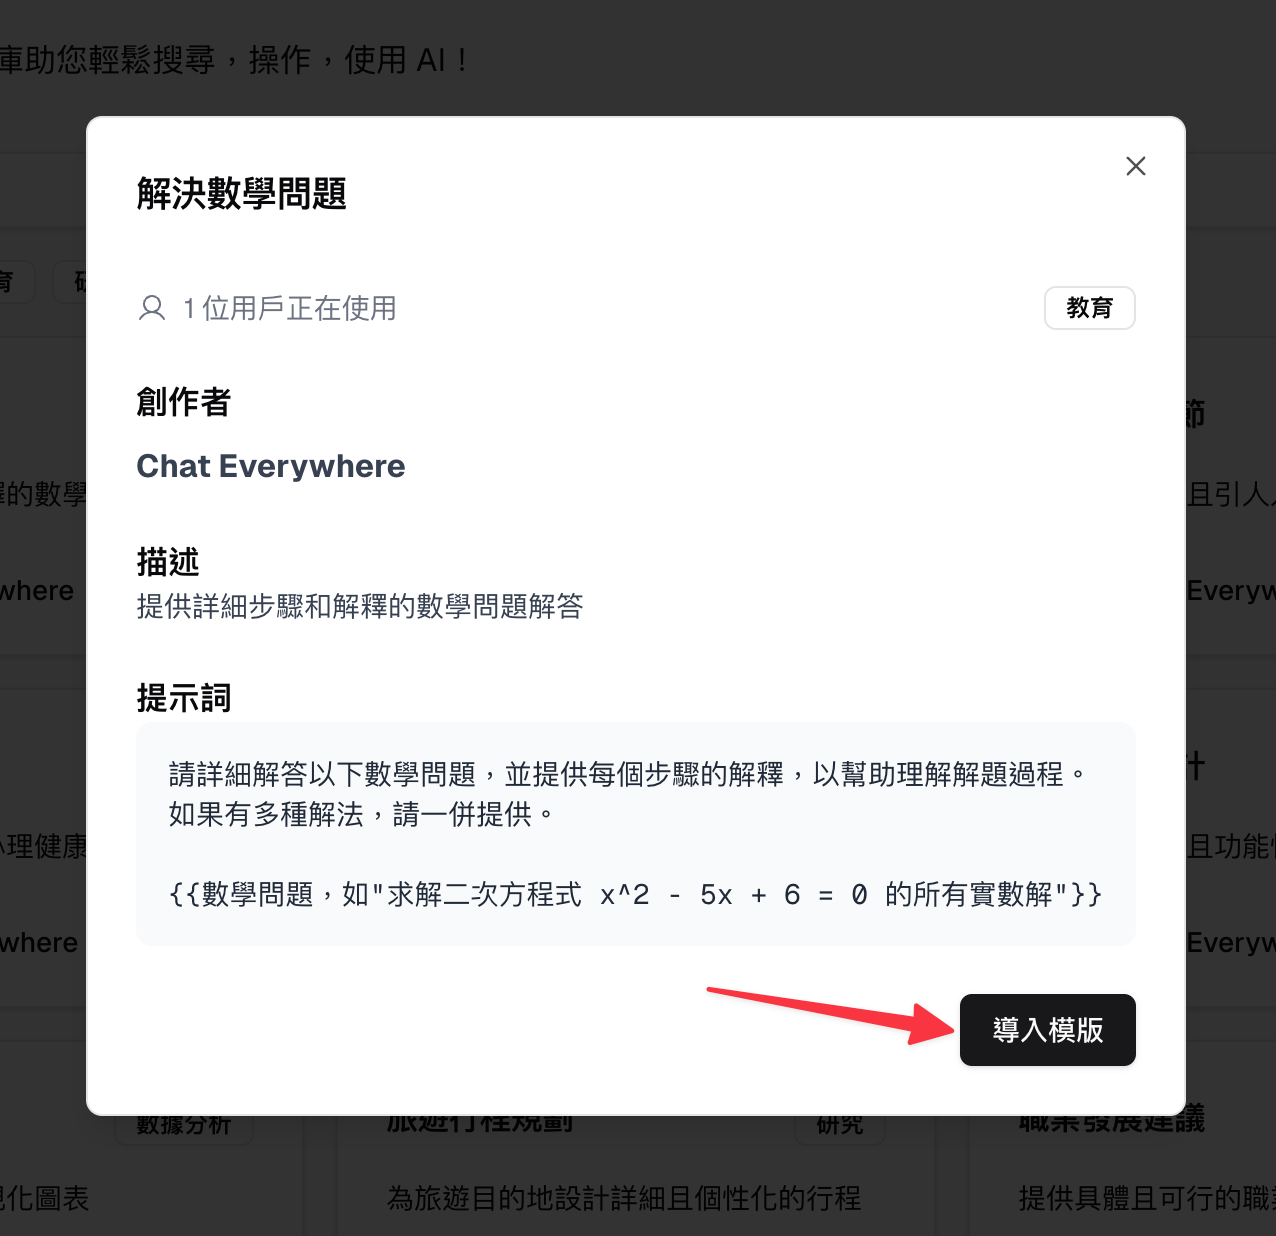
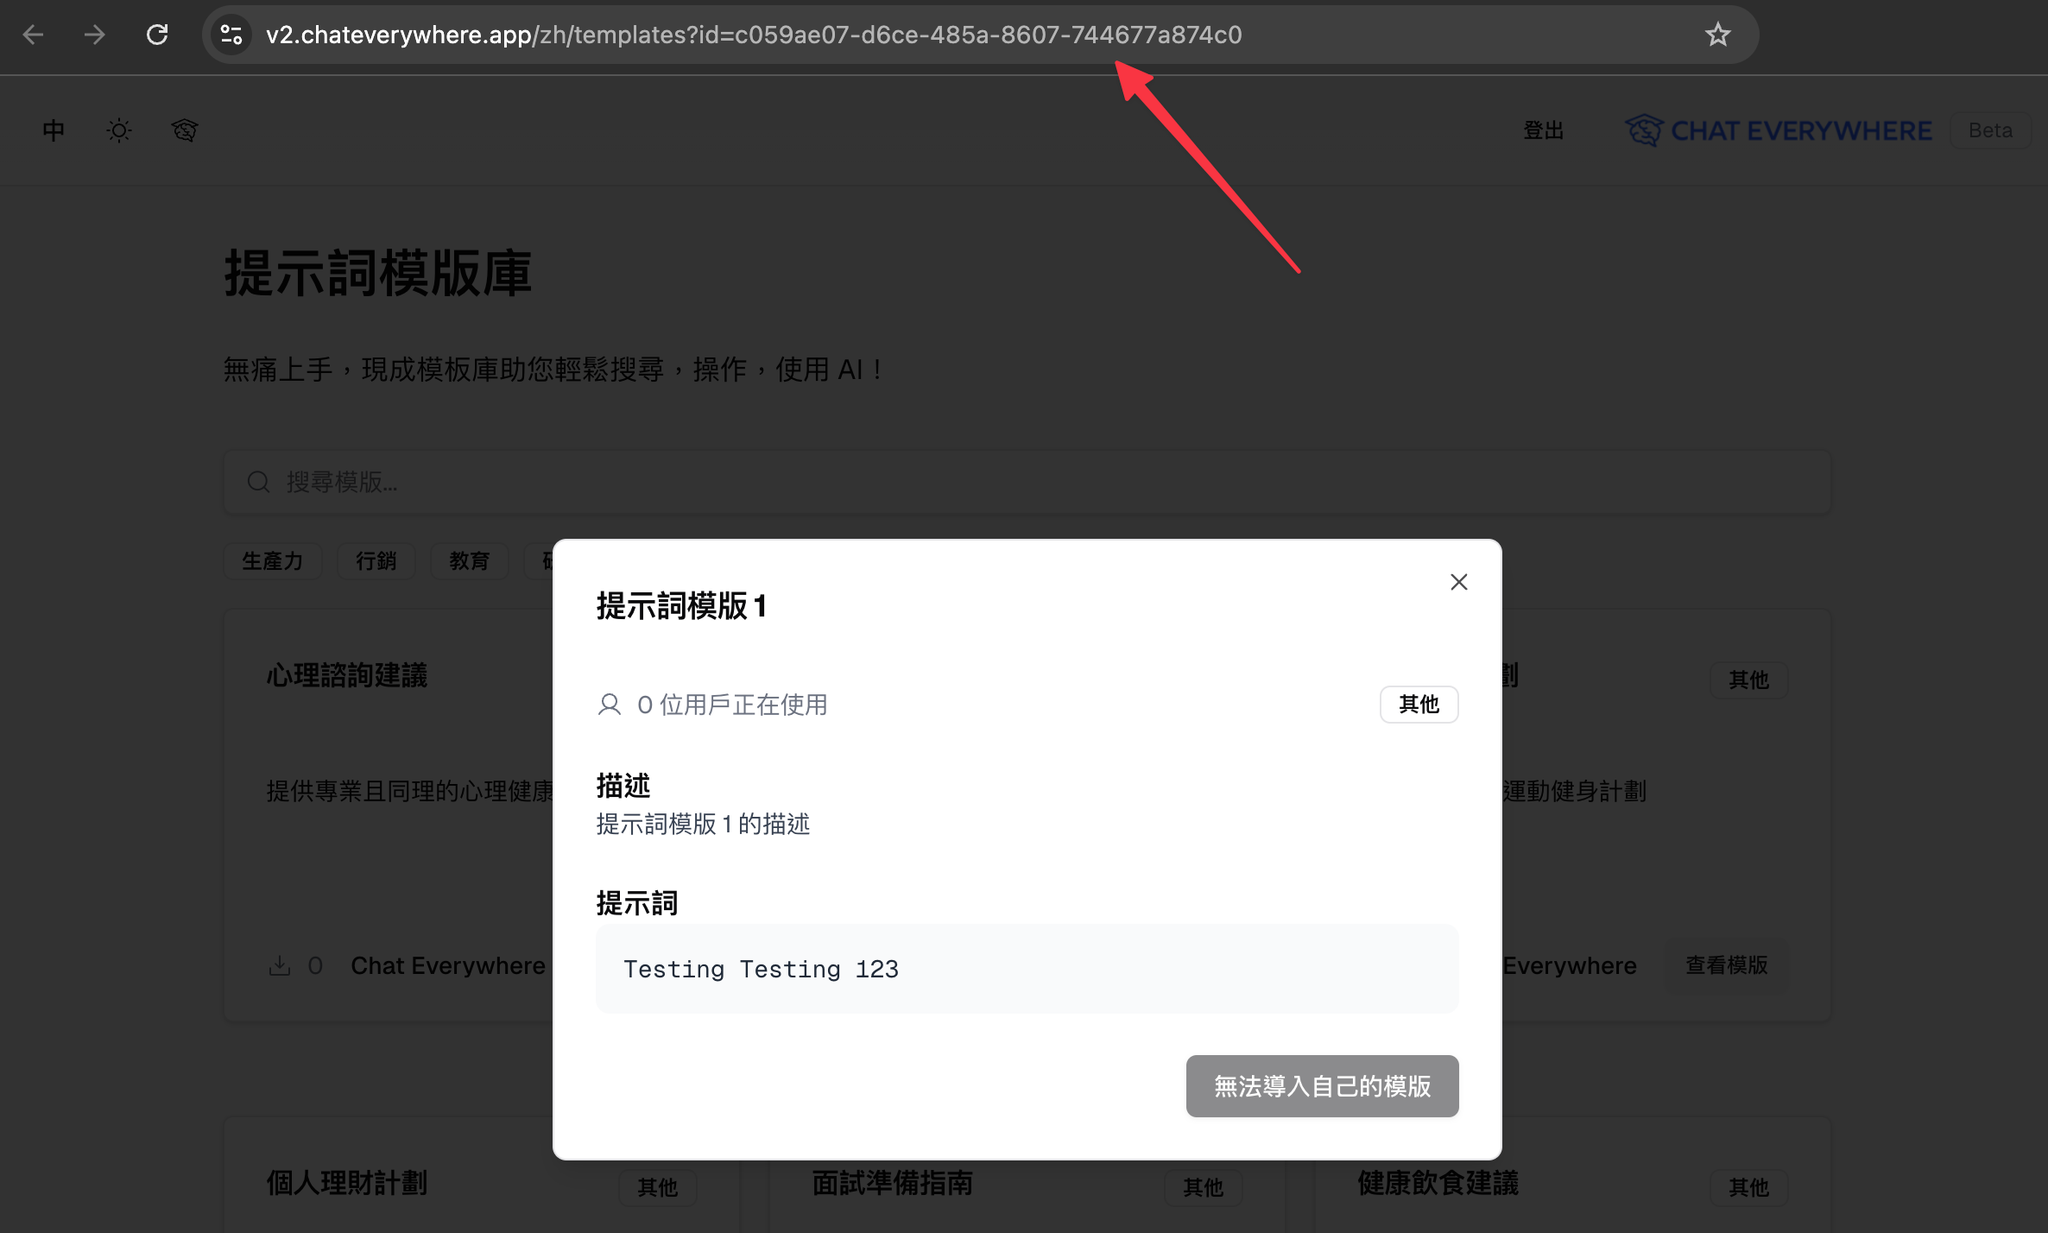
- Preview a template to see its name, description, and setup
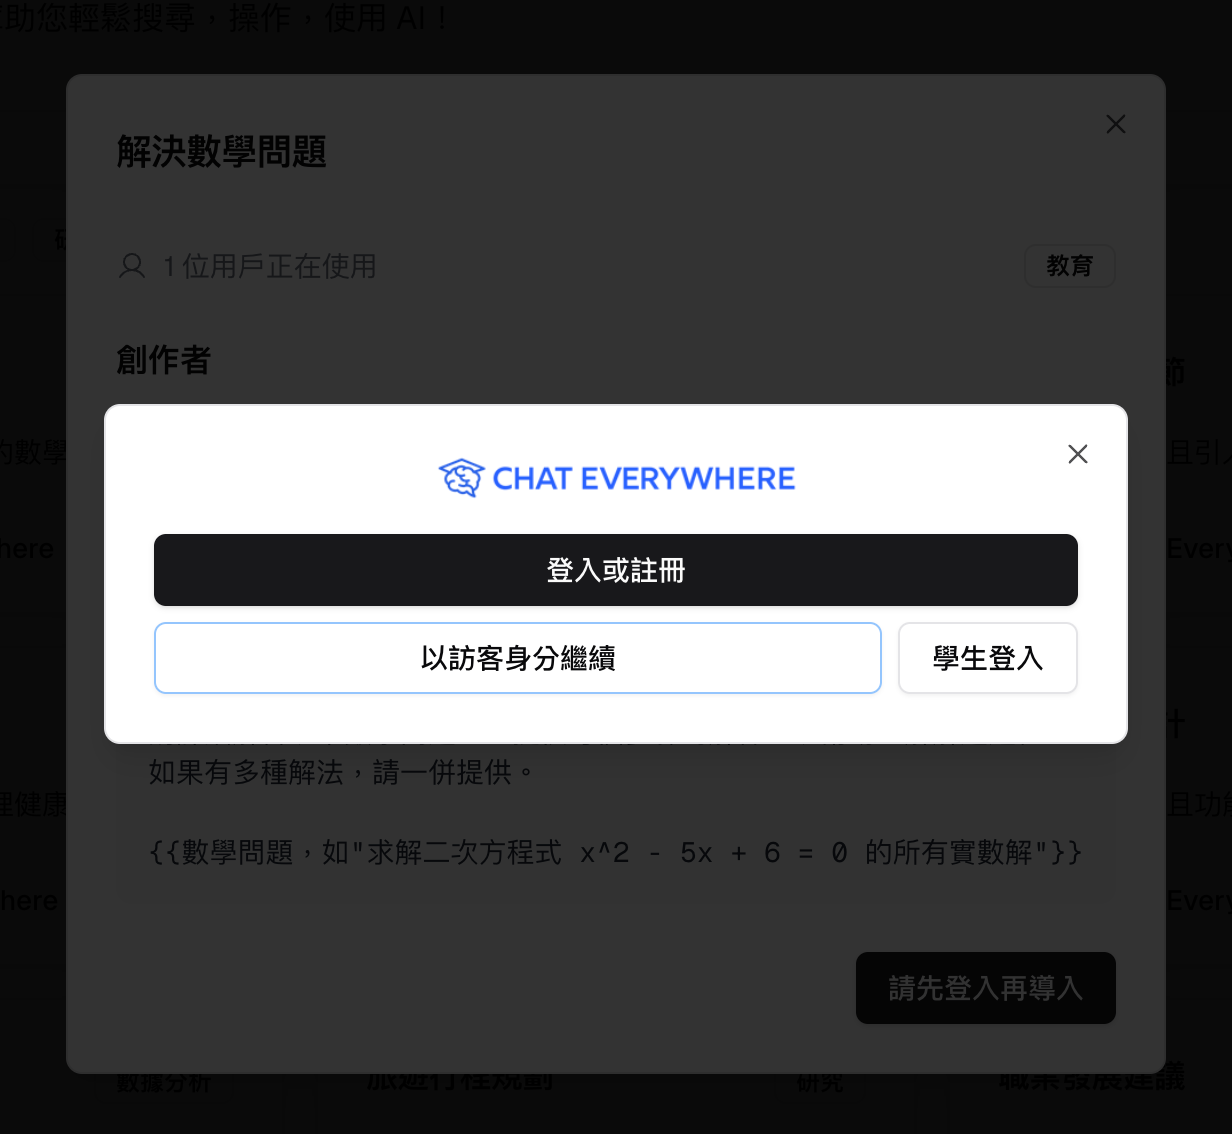
- Import any template into your own collection with one click, then customize it as needed
This is a great way to get started if you are new to prompt design or want inspiration for classroom activities.
The library supports searching, category browsing, and previewing import counts and sharer information. Use the public template library icon to open the library. After signing in, import a template into your own account, then use / in chat to call it.


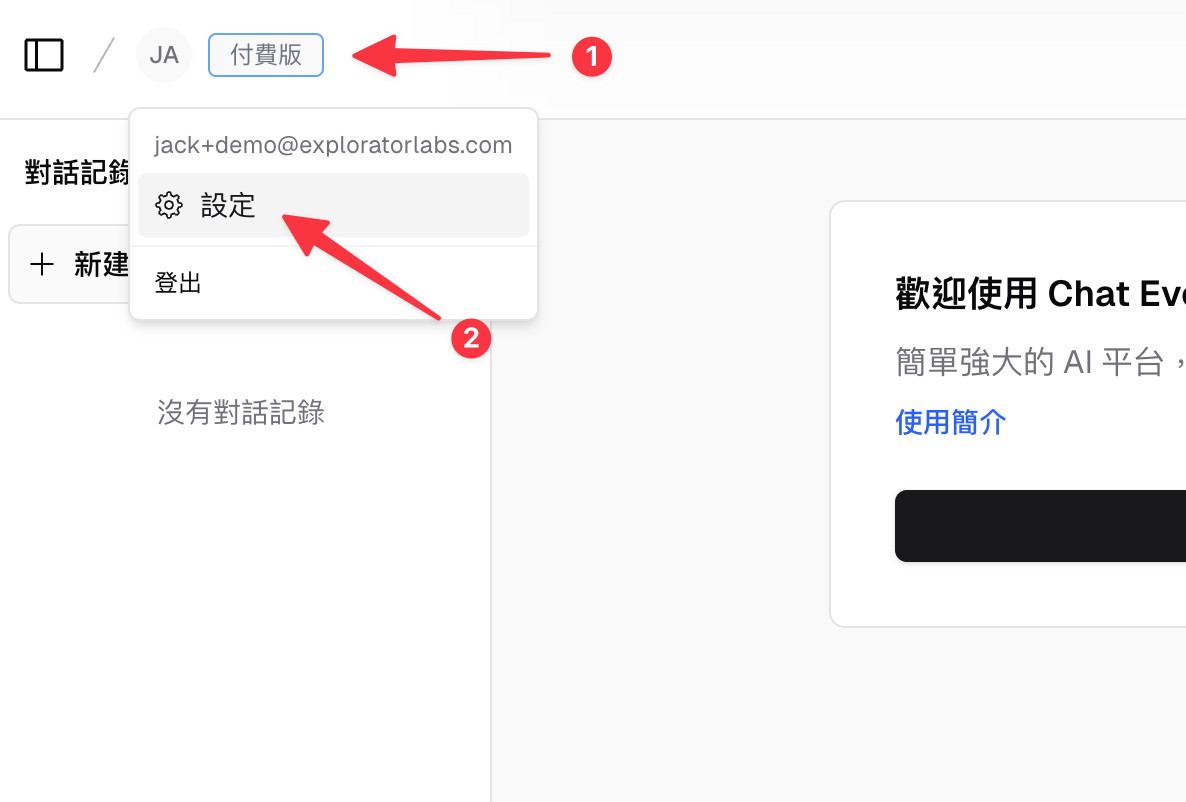
Set the Sharer Display Name
Before sharing templates publicly, set the account nickname that appears with your shared templates. Open settings from the account menu, enter the nickname you want other educators to see, and save it before publishing.
Import and Export
- Import — Bring in templates shared by colleagues or from the public library
- Export — Share your templates with other teachers or save them for use in a different account
This makes it easy to collaborate with other educators or back up your template collection.
Who Can Use This
- Teachers — Create, edit, organize, share, import, and export templates. This feature requires a Teacher plan.
- Students — Use templates that their teacher has shared to a class session. Students do not create or edit templates.
- Everyone — Anyone can browse the public template library.
Related Features
- Class Sessions — Push templates to students through a live session
- In-Class Quiz — Combine quizzes with templates for a complete lesson plan
Common Questions
Students don’t see the template I shared. Make sure the class session is still active and students have joined. Templates are only visible in an active session. Also confirm you completed the step to push the template — just creating it is not enough.
What happens if I edit a template after sharing it? Edits to the template apply to future shares. Students who already received the template may still see the original version for that session.
Can students modify the system instructions? No. Students use the template as-is. They can chat freely within the conversation, but the underlying system instructions you wrote stay in place.
How detailed should my system instructions be? A few clear sentences are usually enough. Describe the AI’s role, what it should help with, and any boundaries. You can always iterate — try a version, test it yourself, and refine.
Can I share a template without a class session? Templates are designed to be pushed through class sessions. If you want students to access a template outside of a session, consider sharing the prompt content through another channel and having students paste it into their chat.