Tag Management
Create color-coded tags to organize and filter student submissions in Share Messages.
Overview
Tag Management gives you a simple way to categorize student submissions. You create custom tags with a name and color, then apply them to submissions in the Share Messages dashboard. Once tagged, you can filter submissions to quickly find what you need. Tags are a teacher-only tool — students never see them.
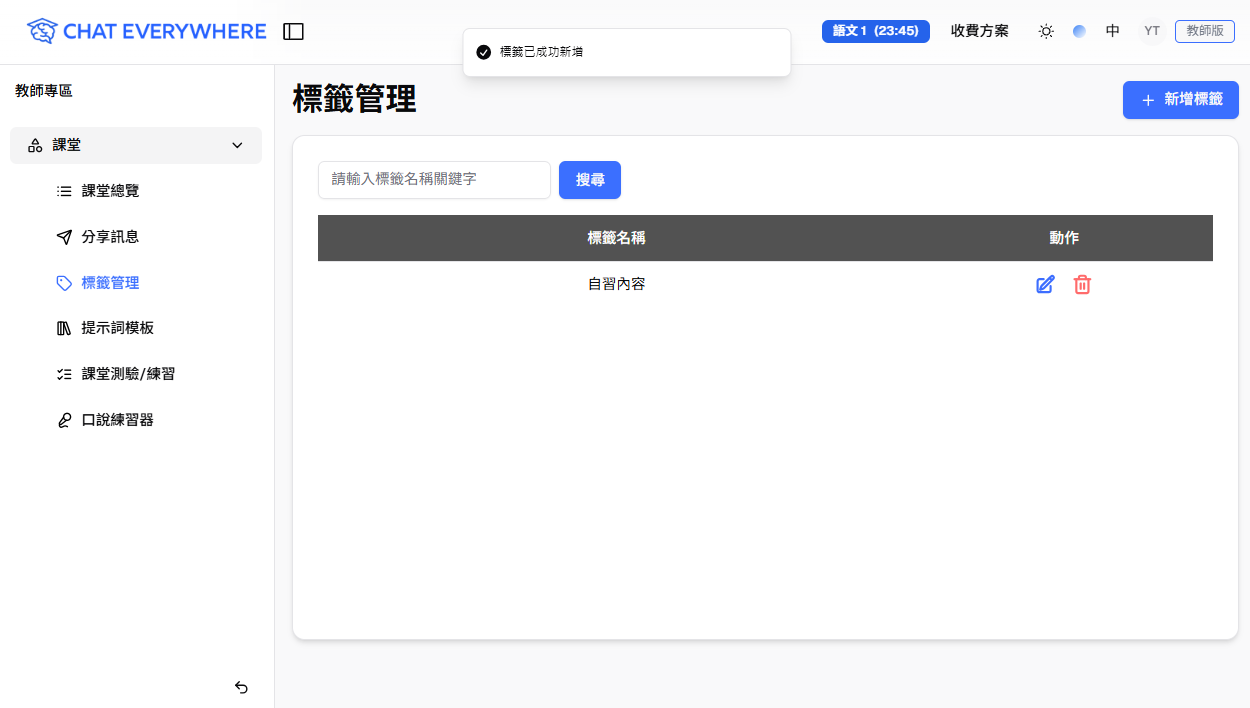
How to Access
- Go to the Teacher Portal
- Click Tag Management in the sidebar
Creating a Tag
- Click Create Tag (or the equivalent button on the Tag Management page)
- Enter a name for the tag (for example, “Excellent Work” or “Needs Review”)
- Choose a color to make the tag easy to identify at a glance
- Save the tag
You can create as many tags as you need. Edit or delete tags at any time from this page.
Applying Tags to Submissions
Tags are applied in the Share Messages dashboard, not on the Tag Management page:
- Go to Share Messages in the Teacher Portal
- Open a student submission
- Click to add one or more tags from your available tags
- The tags appear on the submission and are visible when you browse the list
You can apply multiple tags to a single submission. For more on reviewing submissions, see Share Messages.
For a walkthrough, watch the Tag Management tutorial below.
Batch Tagging
When you need to organize many submissions at once, use multi-select mode in the Share Messages dashboard. Select multiple submissions, apply one or more tags in a single action, then exit multi-select mode when you are done. You can use the same workflow to remove tags from multiple submissions.
Filtering Submissions by Tag
Once you have tagged submissions, use the filter options on the Share Messages dashboard to narrow your view:
- Select a tag to see only submissions with that tag
- Combine tag filters with other criteria like student name or session
- Clear filters to return to the full list
This makes it easy to review a specific category of work — for example, viewing all submissions tagged “Needs Review” to follow up with those students.
Who Can Use This
- Teachers — Create, edit, delete, and apply tags. This feature requires a Teacher plan.
- Students — Tags are not visible to students. They are a teacher-side organizational tool only.
Related Features
- Share Messages — Where you apply tags and filter submissions
Tips
Here are some ways teachers organize their tags:
- By topic — “Photosynthesis”, “Civil War”, “Fractions” — to group submissions by subject area
- By quality level — “Excellent”, “Good”, “Needs Improvement” — for quick sorting during review
- By assignment — “Week 1 Activity”, “Midterm Prep”, “Final Project” — to track submissions across different tasks
- By action needed — “Needs Review”, “Follow Up”, “Share with Class” — to manage your own workflow